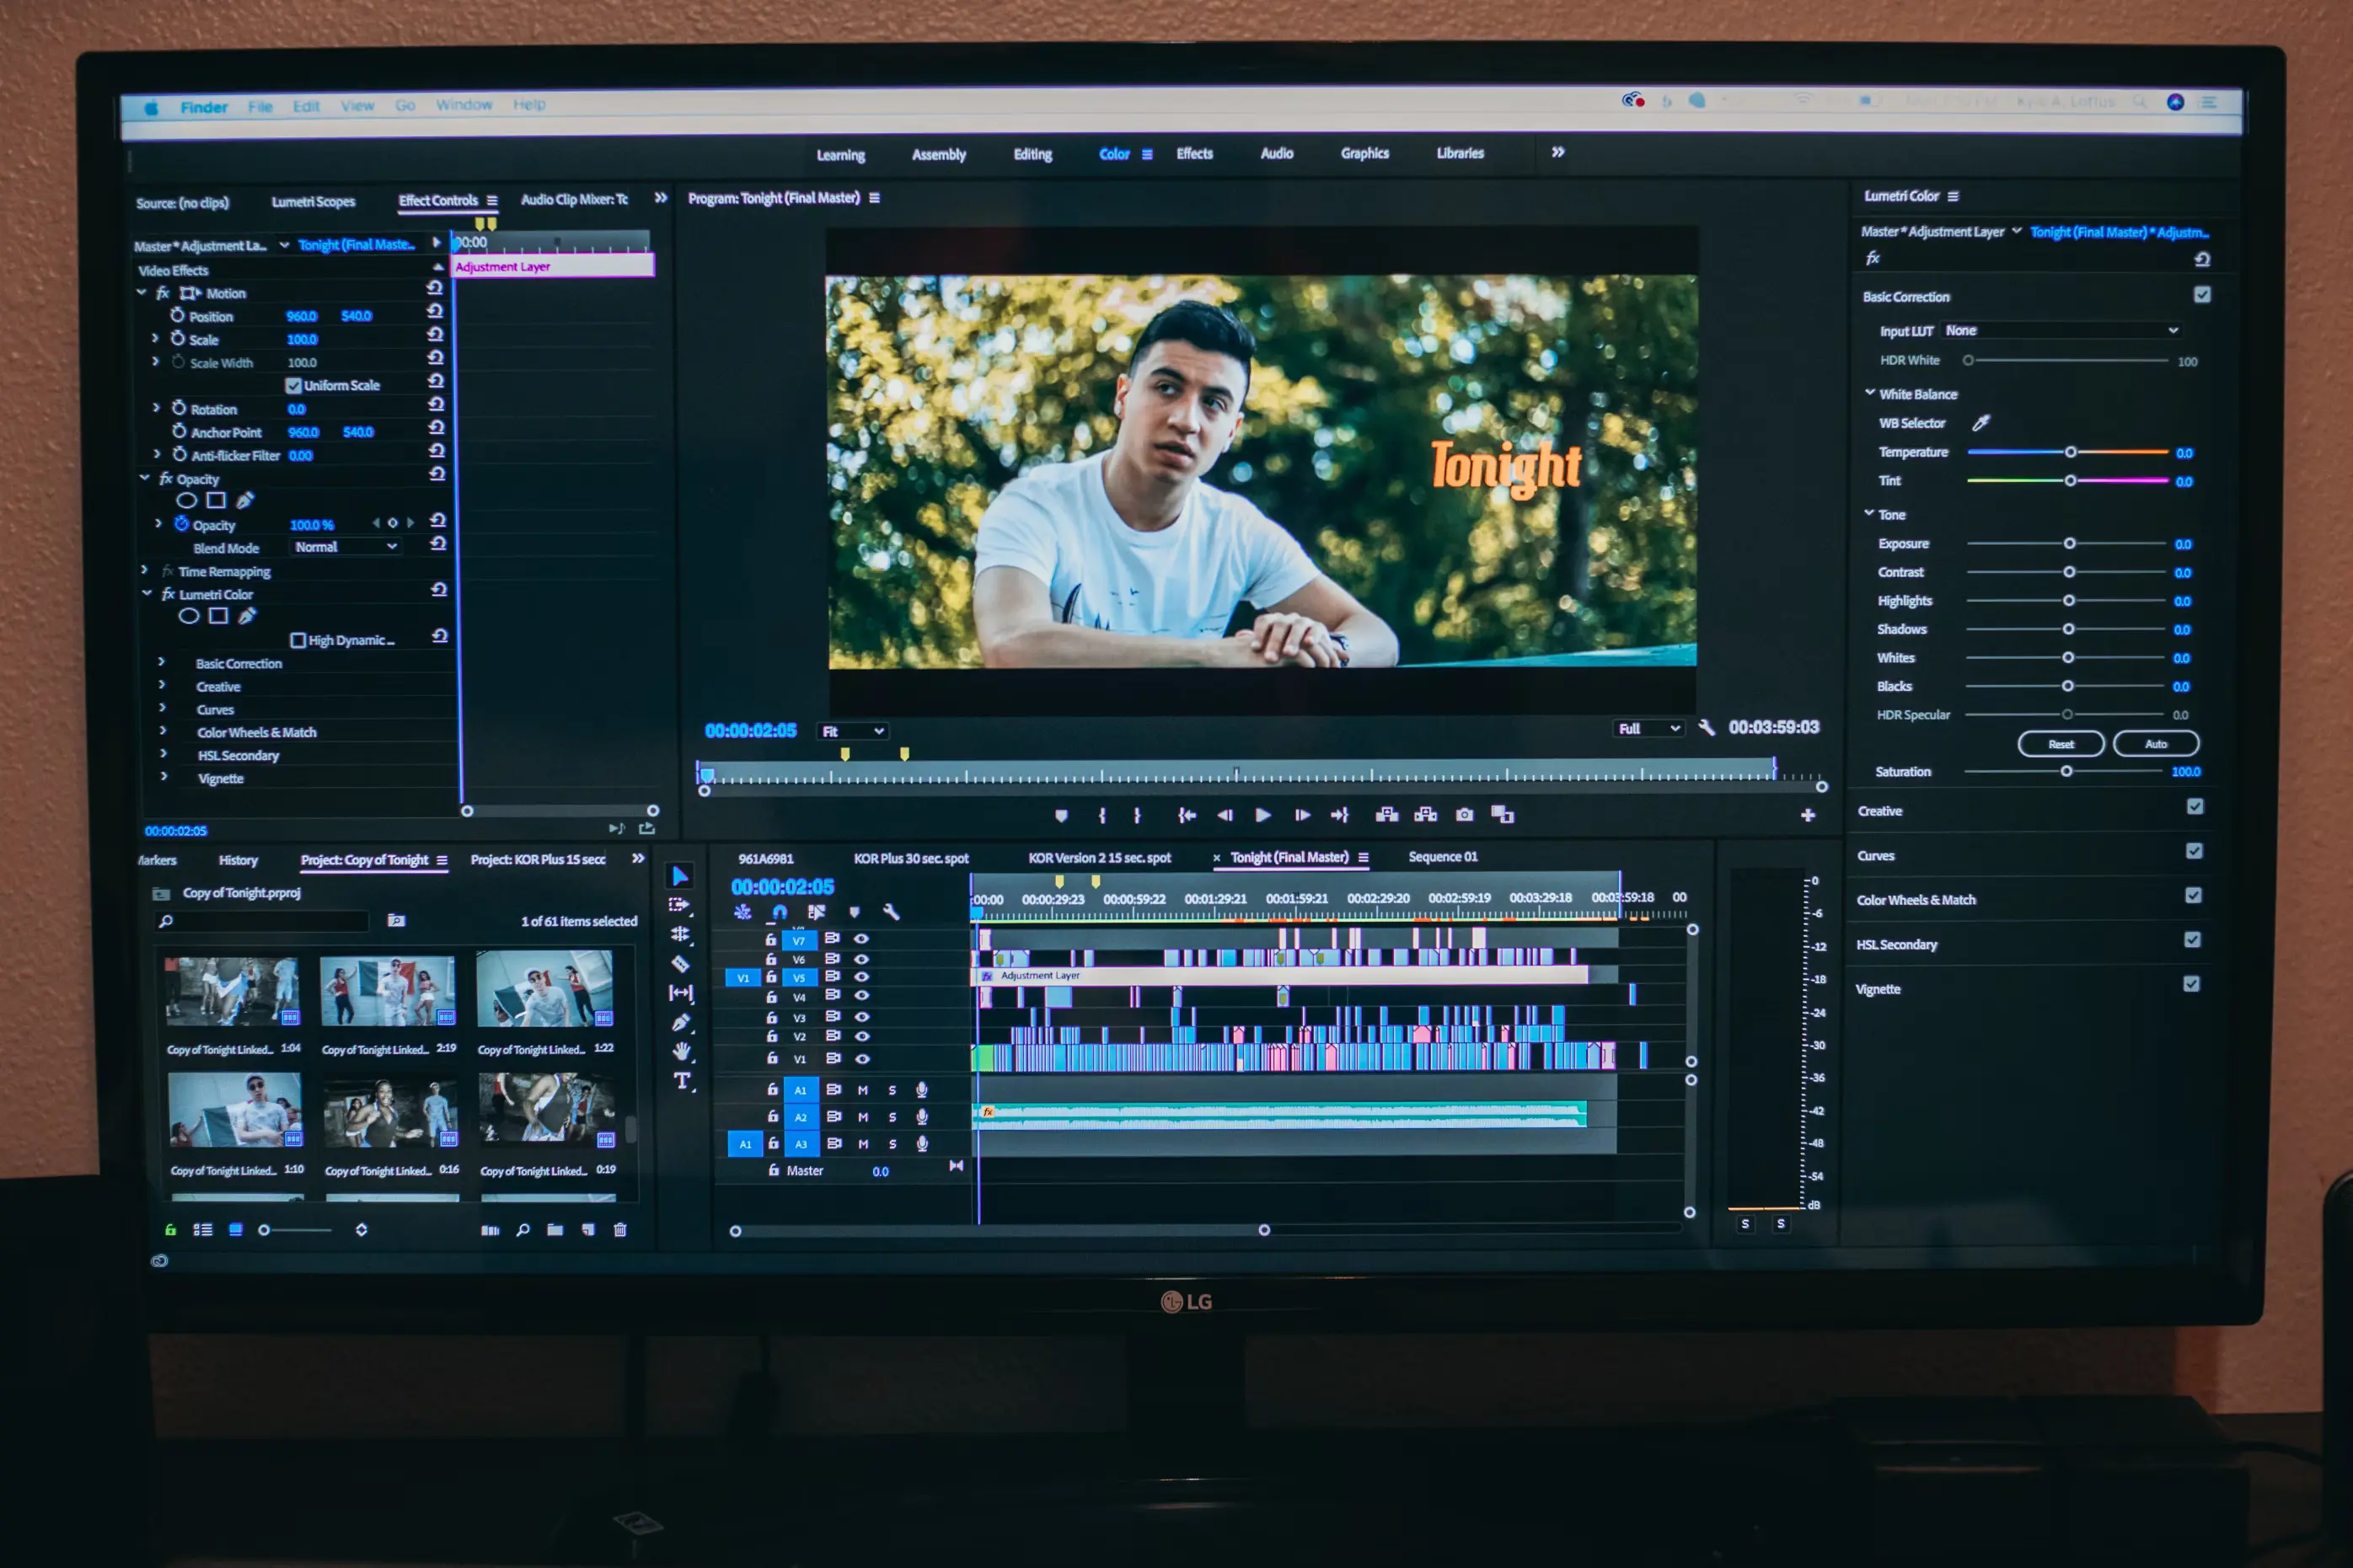
The power of video in Webflow
Incorporating video content is essential for any website aiming to craft memorable online experiences for its target audience. With Webflow's user-friendly, no-code design, integrating videos and tailoring them to align with your brand has become more straightforward—enabling you to create the most engaging and impactful content for your website.
This article guides you through the Webflow video upload process and its technicalities to help you make the most of the versatile website building and hosting platform.
Choosing the right video file format
When integrating videos into your Webflow website, knowing the video file formats that work smoothly is crucial. Currently, Webflow is tailored to handle these widely recognized video file types seamlessly:
- MP4 (MPEG-4): MP4 enjoys its reputation as one of the most frequently used video formats online. It strikes a balance between efficient compression and high-quality video playback. The great news is that all major browsers and devices support MP4 files.
- WEBM (WebM): WEBM is a video format purpose-built for web applications, emphasizing efficient compression and top-tier playback quality. Most contemporary web browsers like Chrome and Firefox are fully compatible with WEBM files.
- OGG (Ogg): OGG, another open-source multimedia container format, can house a variety of media types, including audio and video. While it may not enjoy the same widespread support as MP4 or WEBM, OGG files can be played in browsers like Firefox.
A solid understanding of these compatible formats will empower you to make well-informed choices when incorporating videos into your Webflow website.
Optimal video resolutions for web viewing

The clarity and realism of your video are determined by a factor known as video resolution. This parameter revolves around the quantity of minuscule dots, or pixels, composing the image and is typically expressed in a standard aspect ratio called 16:9, which closely resembles the shape of most television and computer screens.
The more pixels your video contains, the higher its resolution and, consequently, the better it appears. Conversely, fewer pixels result in a lower resolution, yielding a less impressive visual quality.
When you come across terms like 720p or 1080p in video resolutions, the "p" denotes pixels and indicates how many pixels are stacked vertically on the screen. However, when dealing with designations such as 2K, 4K, or 8K video, these names signify the horizontal pixel count spanning the image.
Understanding these resolution figures will help you make informed choices when optimizing the visual appeal of your video.
Video compression techniques
The unprocessed video you obtain directly from your camera is called RAW footage. RAW format video entails recording the data directly from the camera sensor without any compression or alteration. This format is highly valuable as it preserves maximum information and intricate details within the video, including aspects such as exposure, color space, gamma, and more.
But considering the practicalities of transmitting and streaming video, RAW format becomes impractical.
RAW video files necessitate a series of transformations, with the most crucial step being compression, before they become suitable for transmission. Video compression is an essential process for preparing your videos for online distribution. In essence, video compression involves the reduction of a video's file size by selectively discarding certain information or quality aspects.
Here are some standard compression techniques:
- Lossless compression keeps video quality intact, whereas lossy compression sacrifices some quality to reduce file size.
- Temporal compression reduces redundant or unnecessary information between frames, making it better suited for videos with a lot of motion or action, such as gaming or animation content.
- Spatial compression trims redundant or less important details within each frame, making it effective for videos with intricate visuals like those featuring nature or art.
- Intra-frame compression works on each frame individually and is best suited for dynamic videos like sports or adventure clips. It considers the connections between frames and is more suitable for static scenes like interviews or documentaries.
- The Moving Picture Experts Group (MPEG) family of video compression standards combines intra and inter-frame techniques. These standards, including MPEG-1, MPEG-2, MPEG-4, H.264, and H.265, employ various compression methods like DCT, quantization, motion estimation, and motion compensation. MPEG also employs variable length coding (VLC) and Huffman coding for entropy coding.
MPEG standards have widespread application in digital media, encompassing digital television, DVDs, Blu-rays, streaming, and more.
Uploading videos to Webflow
Whether you're keen on showcasing a product demo, setting an engaging background video, or offering a tutorial, Webflow makes integrating videos into your site hassle-free.
The steps for embedding videos in Webflow are discussed below:
Step 1: Preparing the video
To ensure that a video is prepared to deliver its optimal performance, it is essential to consider the following before uploading it to Webflow:
- Video format: Webflow supports formats like MP4, WebM, and Ogg. We recommend using MP4 For the best compatibility across web browsers.
- Resolution and size: Striking the right balance between video quality and file size is essential. Optimize your video by compressing it without sacrificing quality. Choose a resolution that fits your website design and works well on different devices.
- Duration: Remember that longer videos may take longer to load and could affect user experience. If necessary, trim unnecessary sections or break longer videos into shorter segments.
Step 2: Access the Webflow Designer
You have to use the Webflow Designer to upload videos on Webflow.
- Beginners must sign up first to Webflow Designer.
- If you're already using the Webflow Designer, choose the project where you intend to add the video.
Step 3: Add an Embed element
You must use an Embed element to showcase your video on your Webflow website. For this, you need to follow the given steps:
- Click the plus icon on the Designer's left sidebar to introduce a new element.
- Choose the element to be embedded from the "Embed" option.
- Drag and drop the embed element onto the desired page or section.
Step 4: Get the video embed code
To upload your video, you'll have to get its embed code. The steps mentioned below can guide the users on how to get the embed code:
- The desired video must first be uploaded to a recognized video hosting platform like YouTube, Vimeo, Wistia, and Vidzflow.
- Next, users must access the platform video and locate the embed code. The embed code can be made available by clicking the "Share" or "Embed" button.
- Copy the embed code that the hosting platform provides.
Step 5: Paste and customize the video embed code
Once you have the embed code, follow these steps to add it to your Webflow project:
- In Webflow Designer, select the Embed element you added earlier.
- Paste your video's embed code into the designated area within the Embed element settings.
Step 6: Adjust video settings (optional)
Webflow provides customization options for your embedded videos. Consider these Webflow video player settings:
- Autoplay: Decide whether your video should start playing automatically when visitors open your website or if they should initiate playback manually.
- Mute: Choose whether the video's audio should be muted by default.
- Loop: Determine if the video should automatically replay once it reaches its end.
Step 7: Test and publish
After embedding videos in Webflow, it's time to test your video and publish your Webflow website. Preview your site to ensure the video appears and functions as expected. If everything looks good, publish your site, making it accessible to visitors.
Benefits of using Vidzflow for embedding videos in Webflow
Vidzflow, the official Webflow app, provides complete customization, allowing you to seamlessly blend the video player with your website's unique design. Moreover, Vidzflow prioritizes performance, ensuring swift loading and smooth playback to enhance your site's user experience. The pricing is competitive and transparent, catering to diverse needs and budgets.
What sets Vidzflow apart is its flexibility to incorporate videos from its platform and other sources via URL links, offering you the freedom to curate content. The user-friendly interface simplifies video management, making it accessible to beginners and experienced users.
Reliable customer support and integration capabilities with Webflow further solidify Vidzflow's position. With regular updates and features, Vidzflow remains a dynamic choice for elevating your online video presence.
The role of reliable video hosting

Video hosting is an effective tool with the help of which you can upload, modify, and customize your videos for your target audience. It simplifies sharing videos across different platforms, making them accessible to a broad audience.
Through video hosting, you can polish, improve, and personalize your video content, even adding overlays, before publishing it online. This dynamic solution streamlines your marketing, boosts engagement with potential customers, and enhances website conversion rates.
Strategies to maximize video engagement
Creating captivating videos involves more than just a compelling script and top-notch audio-visual quality.
Here are some strategies to enhance your Webflow video player performance and video engagement:
- Quality comes first
Achieving engagement requires a holistic approach that includes emphasizing content and audio-visual excellence. Prioritizing quality can reduce bounce rates and maintain viewer interest.
- Craft a captivating start
Invest in creating a captivating opening that instantly grabs your audience's attention. Discover a hook that draws viewers in, and consider foreshadowing key topics or statistics to maintain their interest.
- Pose thought-provoking questions
Boost engagement by inviting viewers to participate with questions. Encourage them to share their thoughts in the comments. You can also ignite curiosity by displaying questions as text at the beginning of the video.
- Stir emotions
Going beyond mere education, aim to evoke specific emotions in your audience. Background music can amplify emotional impact, but use royalty-free tracks for simplicity. Recognize that humans are primarily driven by emotions, and connecting facts and data to their lives and feelings can significantly enhance engagement.
- Leverage annotations, visual cues and CTAs
Strategically integrate calls-to-action (CTAs) throughout your video to prompt actions like subscribing, following you on social media, or accessing resources. Maintain a consistent CTA presence throughout the video to maximize viewer interaction and collect valuable information from engaged viewers.
Conclusion
Video content is crucial in today's digital landscape to convey messages and capture attention. Following these best practices for Webflow video integration unlocks the full potential of seamless video uploads in Webflow, enhancing user experience and website performance.
Prioritizing video quality, optimization, and strategic implementation ensures quick loading and audience engagement. Leveraging compatible video hosting solutions like Vidzflow streamlines the process.
Frequently asked questions
Which tool can I use to upload videos to Webflow?
You can upload and host videos directly using Webflow's Asset Manager. For additional features, consider embedding videos using Vidzflow, Wistia, Vimeo, or YouTube.
Where can I find free stock videos for Webflow?
You can find free stock videos for Webflow here.
Is there an app for video hosting in Webflow?
Yes, with the help of the Vidzflow app, users can enable Webflow video integration.


